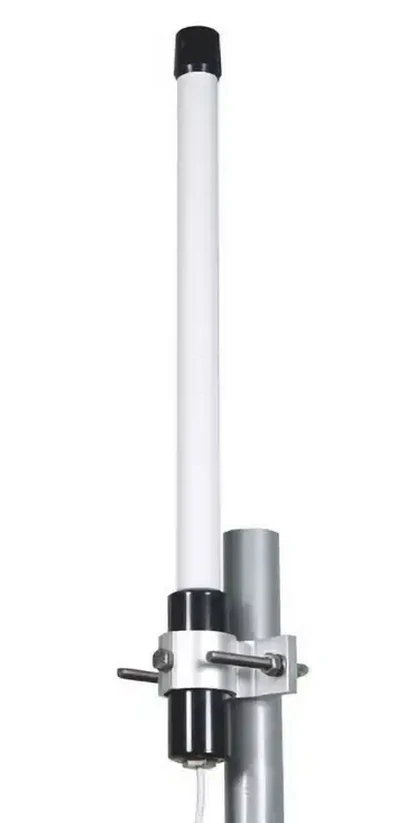
The testing and installation of antennas are key steps in ensuring the normal operation of wireless communication systems. Whether used for broadcasting and television, mobile communication, satellite communication, or other wireless applications, the correct installation and debugging of antennas are crucial. This article will analyze the testing and installation steps of the antenna.
一, Testing phase
1. Preparation before testing
(1) Check the antenna: Confirm that the antenna is intact, all components are complete, and there is no physical damage.
(2) Check tools and equipment: Ensure that all testing tools (such as vector network analyzers, power meters, spectrum analyzers, etc.) and installation tools (screwdrivers, wrenches, ladders, or lifting platforms, etc.) are available and functioning properly.
2. Connection testing
(1) Preliminary connection: Before installing the fixed antenna, conduct a preliminary wiring test to check if the connection between the antenna and the feeder, transmitter, or receiver is normal.
(2) Measurement of Standing Wave Ratio (VSWR): Use a vector network analyzer or standing wave ratio tester to measure the standing wave ratio of an antenna, ensuring that it is within an acceptable range, indicating good impedance matching between the antenna and the feeder.
3. Environmental assessment
Interference testing: Check for possible sources of interference in the surrounding environment, such as other wireless devices, high-voltage lines, large metal objects, etc., and evaluate the potential impact of these factors on antenna performance.
二, Installation phase
1. Site selection and planning
(1) Position determination: Choose the optimal installation location for the antenna, taking into account factors such as line of sight path, signal coverage range, nearby obstacles, and potential interference.
(2) Design layout: Plan the layout of antenna brackets, lightning rods, grounding systems, and feeders.
2. Implement installation
(1) Installation bracket and base: Install the antenna bracket and base according to the design drawings to ensure stability and safety.
(2) Fixed antenna: Fix the antenna on the bracket, adjust its direction and tilt angle to achieve the expected radiation pattern.
(3) Connect the feeder: Connect the antenna to the receiver or transmitter's feeder, ensuring a tight connection, and use waterproof tape or heat shrink tubing to protect the connection from weather conditions.
3. Grounding and Safety
Grounding system: Install an effective grounding system, including grounding rods and grounding wires, to protect the antenna system from damage caused by lightning strikes and electrostatic discharge.
三, Debugging phase
1. Adjustment and Calibration
(1) Direction and tilt adjustment: Fine tune the direction and tilt of the antenna based on the position of the signal source to optimize the receiving or transmitting effect.
(2) Recheck the standing wave ratio: After installation, measure the standing wave ratio again to confirm the performance of the antenna system in the actual installation environment.
2. Performance testing
(1) Signal strength test: Use a signal strength tester or spectrum analyzer to check the received or transmitted signal strength of the antenna to ensure it meets expectations.
(2) Interference testing: Recheck for interference to ensure that the performance of the antenna system is not significantly affected in actual operation.
3. Functional verification
System integration debugging: Conduct integration debugging with the transmitter or receiver to ensure the normal operation of the entire wireless communication system.